Grovenor Sidings, Railway Modelling Pages by Keith Norgrove
Home Page, Class 37, Warship, Layout, DMUs, Turntable,  Garratts.  

Class 24/25/44 rewheeling.

Updated: 28 December 2003

The Bachmann Sulzer locos provide an ideal beginners project in Protofour as they can be converted with a simple exchange of wheelsets. Drop in wheelsets are available completely assembled from Ultrascale but it is more economical to use the conversion sets available from Alan Gibson which re-use the original axle gears and bearings but need a few minutes more work. (Note that this procedure covers the new model class 44, the older class 46 is best converted using the Ultrascale drop in sets as they have non-standard axles). 

Click on any thumbnail for a larger picture.

1. Class 24/25 fixing screws
 

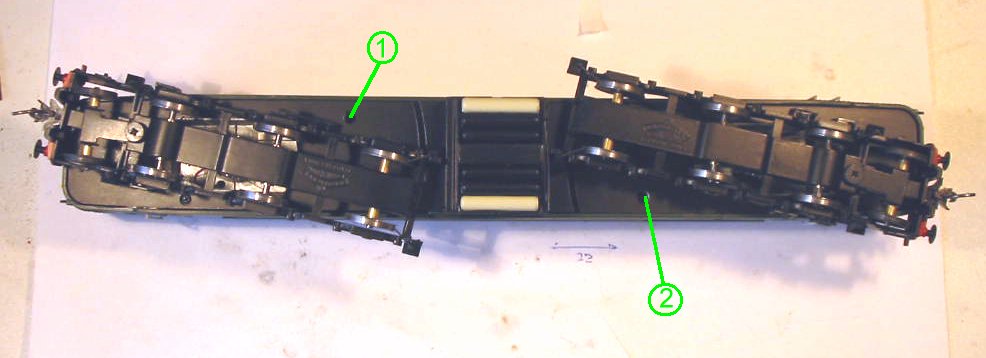
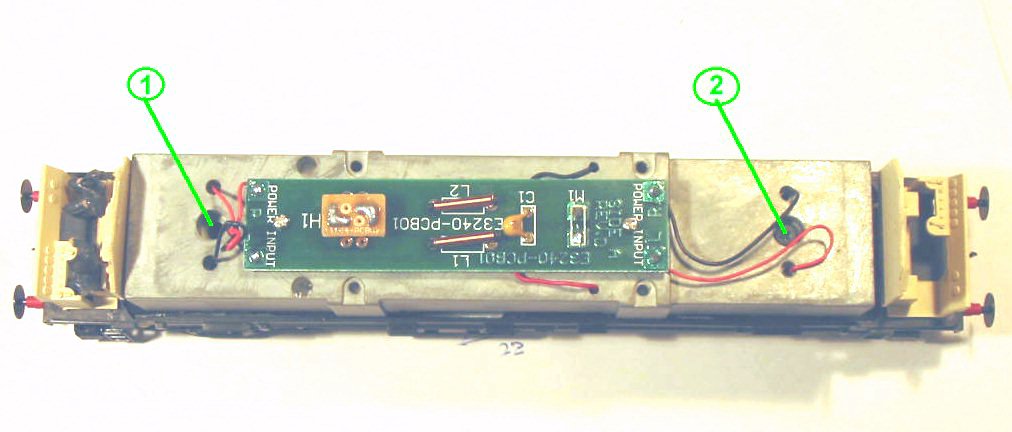
2. Class 44 fixing screws
 

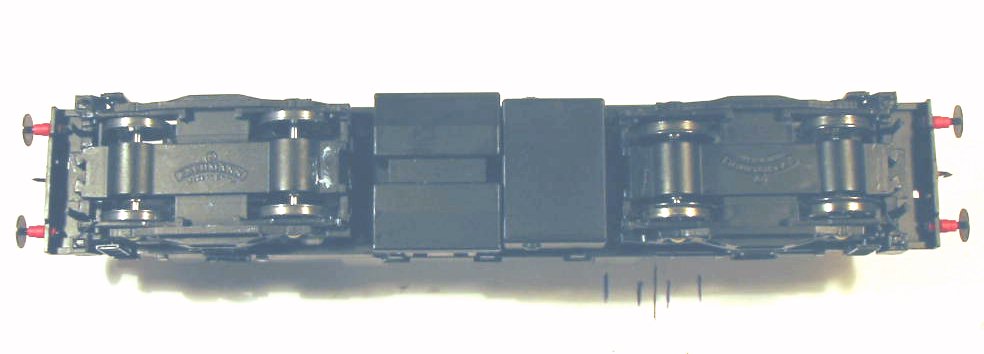
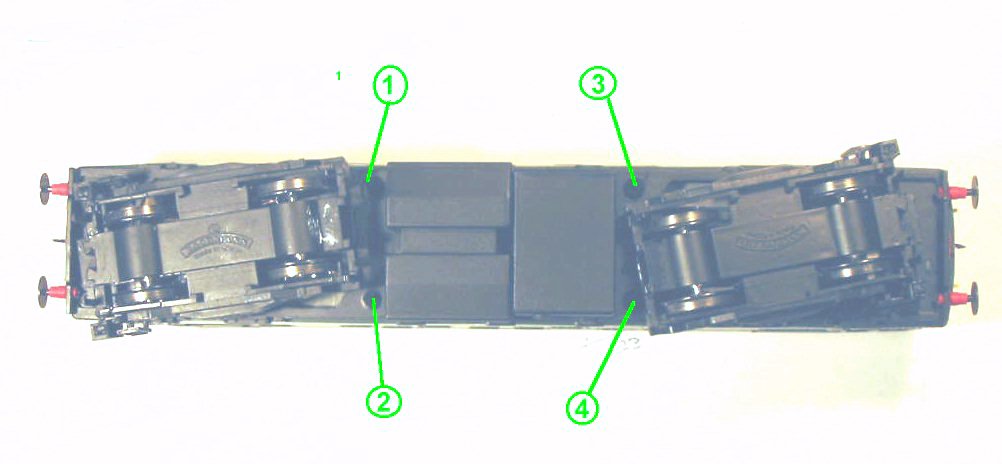
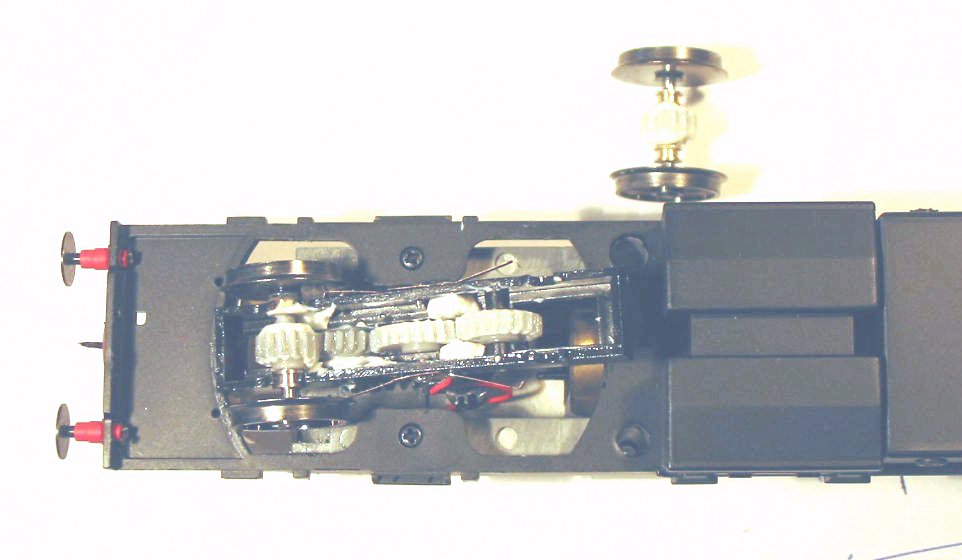
3. Bogie retaining screws 
 

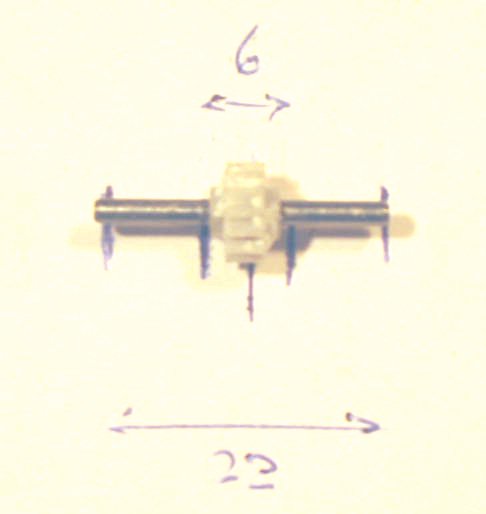
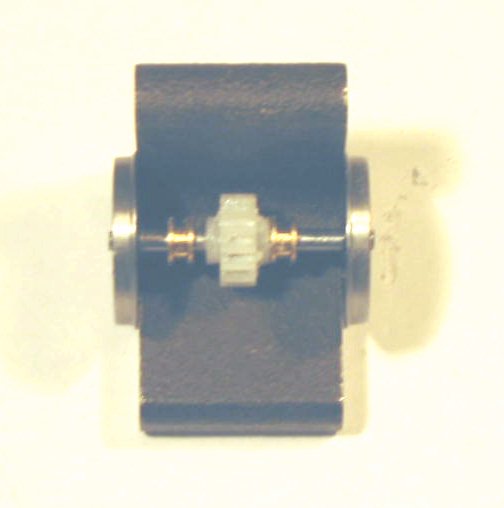
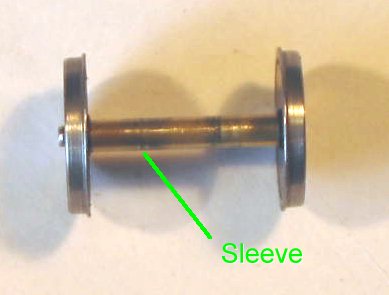
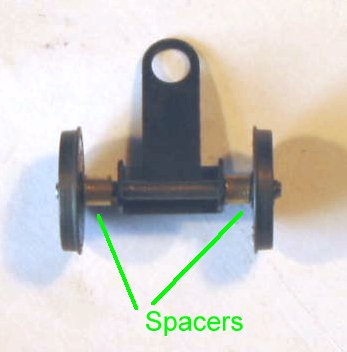
4. Removing wheelsets


Although it is possible to change the wheels without removing the shell it is easier to unclip the bogie frames if the bogies are first released from the chassis. To do this the bodyshell must first be removed. For the 24/25 there are 4 screws underneath on either side of the fuel tanks which must be removed, see photo for the location. Once these screws are out the bodyshell will pull off taking care to ease the clips located above the buffer beam at each end.
For the class 44 there are only two screws as shown in the second photo, and in this case no clips so the shell lifts straight off once the screws are out. All these screws are of the crosshead pattern but I have not found the crosshead drivers to fit well and have used a jewellers flat blade driver with more success.

Once the shell is off bogies can be released by removal of the pivot screw shown in photo 3. I suggest removing only one bogie at a time. There is no need to remove the wires from the circuit board as there is enough slck to work on the bogie.  (Note: if the bogies are removed from the 44 its a bit of a juggle to get the drive shaft back into place, if this worries you leave the bogie in place, it just needs a bit more care to unclip the bogie frame. 

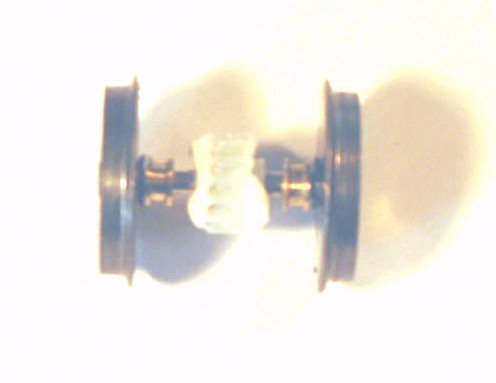
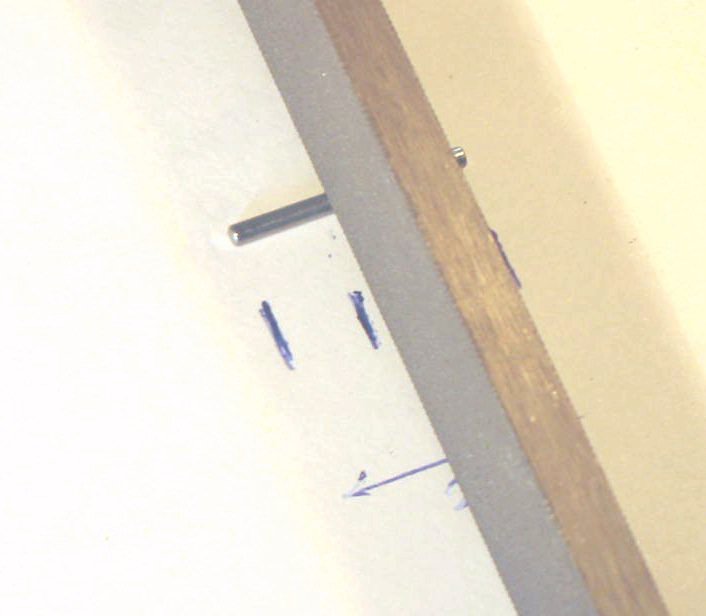
The outer cosmetic frames are fixed to the inner gearbox by a clip at each end. For the 24/25 I have found it easiest to unclip from the outer end using a small screwdriver.  For the 44 the pony truck should first be unscrewed as the screw helps retain the outer end of the cosmetic frame, then unclip from the inner end. With the bogies fully rotated this can be done fairly easily without releasing the bogie. When the cosmetic frame is released the inner idler wheels will likely drop out along with their bearing saddle and spring, keep the bearing saddle and spring safe for use when re-assembling.


5. Original wheelset

7. Removing gear
 

6. Removing wheel

The first action is to recover the gears and bearings from the Bachmann wheelsets. The bearings are a clip fit into the gearbox and a little pressure from the fingers will pop the wheelsets out, or you can apply a bit of leverage with a screwdriver between bearing and gear, whichever way be careful not to disturb the pick ups.

The wheels and bearings can then be removed and the gear pressed off the axle, the axles are knurled under the gears so press them straight off without twisting.  I use an NWSL wheel puller but you can use your favourite method.

Keep gears and bearings safe for re-use.


8. Checking required axle length
 

9. Grinding points off axles


Next activity is to prepare the new wheelsets, the axles may be supplied with pinpoints.  Ignore the instruction on the packet that says to cut to length after assembling the wheelset, the shortening process is going to heat up the axle which will not do the plastic wheelset any good and it is difficult to hold the wheelset for this purpose without risk of creating wobbly wheels. Instead trim the axles to length before assembly while they can be held securely in the vice. The axles should be reduced to 22mm long.  I used a Dremel with cutting disk to grind the pinpoints off but it can equally be done by filing just takes longer. 
10. Marking axle length

12. Knurling axle

14. Checking gear central
 

16. Old and new wheelsets

11. Completed guide marks with axle

13. Pressing gear on

15. Checking back to back


To provide a secure fit for the gears I roughen the axle surface over the centre 6mm by rolling under a large file, make guide lines on a paper and roll on a firm surface, you wont get knurls like those on the original axle but the rough finish will be enough.
This done the gears can be pressed on, checked for centering using the same guide marks, then bearings and wheels added. Use a scalpel to remove any flash or pips from the back of the wheels before mounting them.
17. First bogie completed Cl-25


Before fitting the new wheelsets to the gearbox the pick ups will need tweaking, they can be readily manipulated with fine tweezers. On the 24/25 the pick ups are not symetrical, one pair just need to be angled out further to contact the flange back. The other pair treated similarly will contact the plastic part of the wheel back, to avoid this the turned in section at the end needs to be lengthened by a couple of mm effectively shortening the pick up so that it bears on the flange back. On the 44 the arrangement is symetrical and a bit easier. Take care when clipping the wheelsets into place to get the pickups in the correct position and check that they remain in contact with the flanges when the wheelset is moved off centre by a mm either way.

For a 24/25 all that remains is to fit everything back together.

18. Idler axle with sleeve
 

19. Pony truck with spacers

20 Completed bogies Cl.44

For the 44 there are still the idler wheelsets to deal with.  The inner idlers on the original have 3mm diameter axles, the AG replacements are 2mm diameter. To correct this cut a 17mm sleeve from brass tube, 3mm outside diameter and 2mm bore and assemble the wheelset with this sleeve between the wheels. For this wheelset the axle should be reduced to 22mm length but should not be knurled.
(The tube is available from K & S stockists, eg. The Engine Shed at Leytonstone)

For the pony truck a 3ft diameter disc wheelset is required, eg Alan Gibson part G4S09. The axle should be reduced to 22mm as above and the wheelset assembled to the pony truck with two 3mm spacers made of the same 3mm brass tube.  This done everything can be put back together. 


Note: If you have heavy loads to pull the tractive effort of the 44 is a bit disappointing,  distinctly inferior to either the 24/25 or the earlier version 46.
This appears to be a direct result of the stronger springs on the idler axles and pony trucks, if you need more pull you can try reducing the spring pressures but bear in mind this will probably be at the expense of trackholding and it is easy to overdo it.

 Return to homepage

Copyright Keith Norgrove.
Last revised: December 28, 2003